pip install cv2
pip install Pyside6
사용중인 가상환경에 위 라이브러리를 설치합니다.
아래 코드를 실행합니다.
import sys
import cv2
import os
import PySide6.QtGui as QtGui
from PySide6.QtCore import Qt, QTimer
from PySide6.QtWidgets import QMainWindow, QPushButton, QVBoxLayout, QFileDialog, QLabel, QApplication, QSizePolicy, QWidget, QStatusBar
class ViewVideo(QMainWindow):
def __init__(self):
super().__init__()
self.setWindowTitle("Video View")
self.resize(800,600)
# button
self.view_file_button = QPushButton("video open")
self.view_file_button.clicked.connect(self.open_video_file_dialog) #
self.play_button = QPushButton("Play")
self.play_button.clicked.connect(self.play_video)
self.pause_button = QPushButton("Stop")
self.pause_button.clicked.connect(self.pause_video) #
self.capture_button = QPushButton("Capture")
self.capture_button.clicked.connect(self.capture_frame) #
# video view label
self.video_view_label = QLabel()
self.video_view_label.setAlignment(Qt.AlignCenter)
self.video_view_label.setSizePolicy(QSizePolicy.Expanding,
QSizePolicy.Expanding)
# main layout
main_layout = QVBoxLayout()
main_layout.addWidget(self.view_file_button)
main_layout.addWidget(self.play_button)
main_layout.addWidget(self.pause_button)
main_layout.addWidget(self.capture_button)
main_layout.addWidget(self.video_view_label)
central_widget = QWidget()
central_widget.setLayout(main_layout)
self.setCentralWidget(central_widget)
self.video_path = ""
self.video_width = 720
self.video_height = 640
self.video_capture = None
self.video_timer = QTimer()
self.video_timer.timeout.connect(self.display_next_frame) #
self.paused = False
self.current_frame = 0
self.capture_count = 0
self.status_bar = QStatusBar()
self.setStatusBar(self.status_bar)
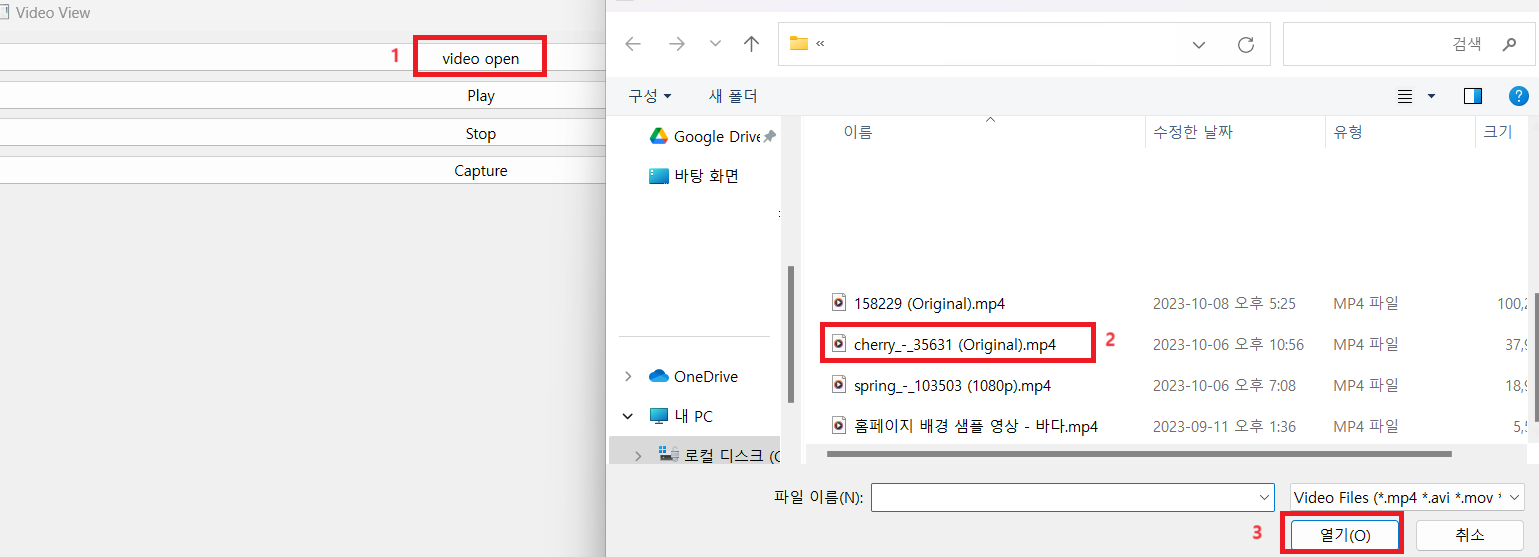
def open_video_file_dialog(self):
file_dialog = QFileDialog(self)
# QF필터는 공백으로 형식을 구분해야한다!
file_dialog.setNameFilter("Video Files (*.mp4 *.avi *.mov *.mkv)")
if file_dialog.exec():
selected_files = file_dialog.selectedFiles()
if selected_files:
self.video_path = selected_files[0]
self.status_bar.showMessage(f"select video Path : {self.video_path}")
def display_next_frame(self):
if self.video_path :
ret, frame = self.video_capture.read()
if ret :
frame_rgb = cv2.cvtColor(frame, cv2.COLOR_BGR2RGB)
frame_resize = self.resize_frame(frame_rgb) # def resize_frame(image)
h, w, _ = frame_resize.shape
if w > 0 and h > 0:
frame_image = QtGui.QImage(frame_resize, w, h,
QtGui.QImage.Format_RGB888)
pixmap = QtGui.QPixmap.fromImage(frame_image)
self.video_view_label.setPixmap(pixmap)
self.video_view_label.setScaledContents(True)
self.current_frame +=1
else :
self.video_timer.stop()
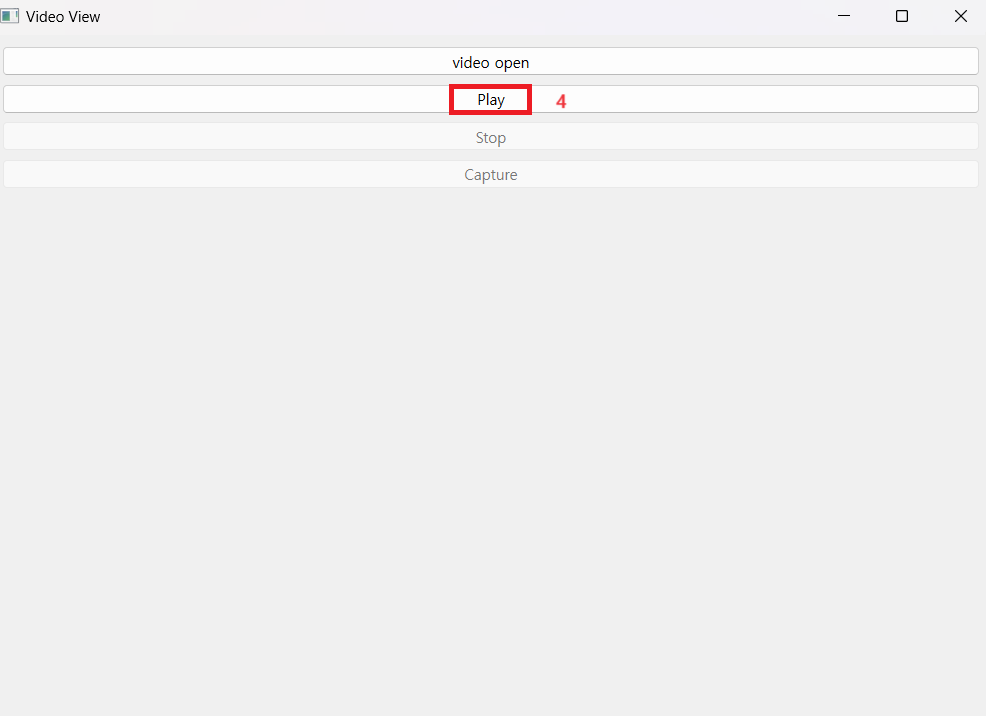
def play_video(self):
if self.video_path:
if self.paused:
self.video_capture.set(cv2.CAP_PROP_POS_FRAMES, self.current_frame)
self.paused = False
else :
self.video_capture = cv2.VideoCapture(self.video_path)
self.current_frame = 0
self.play_button.setEnabled(False)
self.pause_button.setEnabled(True)
self.capture_button.setEnabled(True)
self.video_timer.start(30)
def resize_frame(self, frame):
height, width, _ = frame.shape
if width > self.video_width or height > self.video_height:
ratio_width = self.video_width / width
ratio_height = self.video_height / height
scale = min(ratio_width, ratio_height)
new_width = int(width * scale)
new_height = int(height * scale)
frame = cv2.resize(frame, (new_width, new_height))
return frame
def pause_video(self):
self.video_timer.stop()
self.play_button.setEnabled(True)
self.pause_button.setEnabled(False)
self.capture_button.setEnabled(not self.paused)
self.paused=True
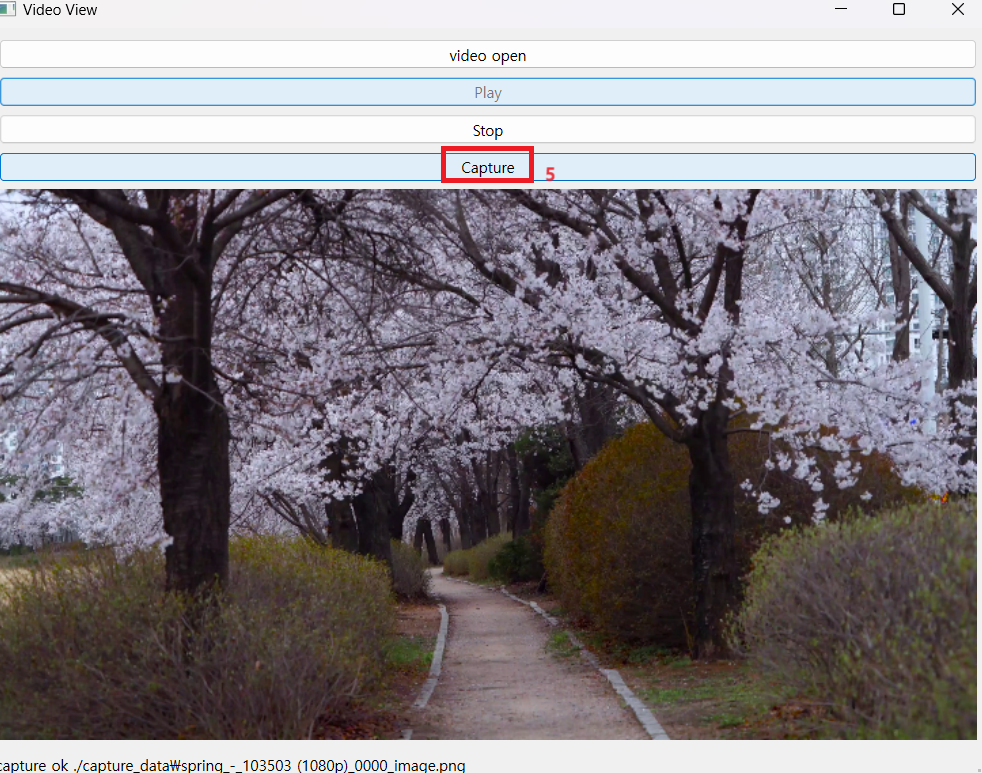
def capture_frame(self):
ret, frame = self.video_capture.read()
if ret:
frame_rgb = cv2.cvtColor(frame, cv2.COLOR_BGR2RGB)
frame_resize = self.resize_frame(frame_rgb)
h, w, _ = frame_resize.shape
if w > 0 and h > 0:
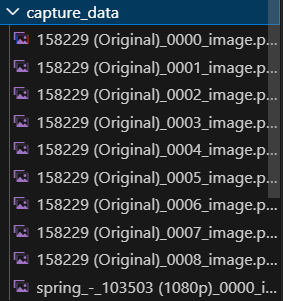
folder_name = os.path.splitext(os.path.basename(self.video_path))[0]
file_name = f"{folder_name}_{self.capture_count:04d}_image.png"
os.makedirs("./capture_data", exist_ok=True)
file_path = os.path.join("./capture_data", file_name)
self.capture_count += 1
cv2.imwrite(file_path, cv2.cvtColor(frame_resize, cv2.COLOR_RGB2BGR))
self.status_bar.showMessage(f"capture ok {file_path}")
def open_video_file_dialog(self):
file_dialog = QFileDialog(self)
file_dialog.setNameFilter("Video Files (*.mp4 *.avi *.mov *.mkv)")
if file_dialog.exec():
selected_files = file_dialog.selectedFiles()
if selected_files:
new_video_path = selected_files[0]
if new_video_path != self.video_path:
self.video_path = new_video_path
self.status_bar.showMessage(f"Selected video path: {self.video_path}")
self.reset_video_player()
def reset_video_player(self):
self.video_timer.stop()
if self.video_capture:
self.video_capture.release()
self.current_frame = 0
self.capture_count = 0
self.paused = False
self.play_button.setEnabled(True)
self.pause_button.setEnabled(False)
self.capture_button.setEnabled(False)
self.video_view_label.clear()
def closeEvent(self, event):
self.video_timer.stop()
if self.video_capture:
self.video_capture.release()
event.accept()
if __name__ == "__main__":
app = QApplication(sys.argv)
window = ViewVideo()
window.show()
app.exit(app.exec())
'데이터 수집 및 가공 > 데이터 수집' 카테고리의 다른 글
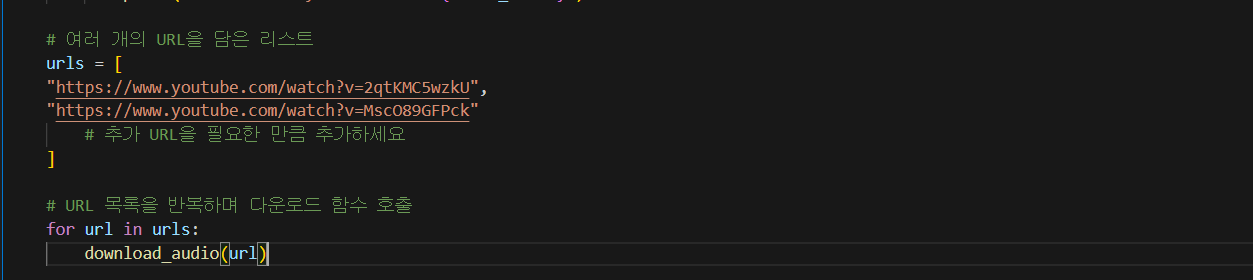
| 음원 데이터 수집하기(yt_dlp/window/python) (0) | 2023.10.15 |
|---|